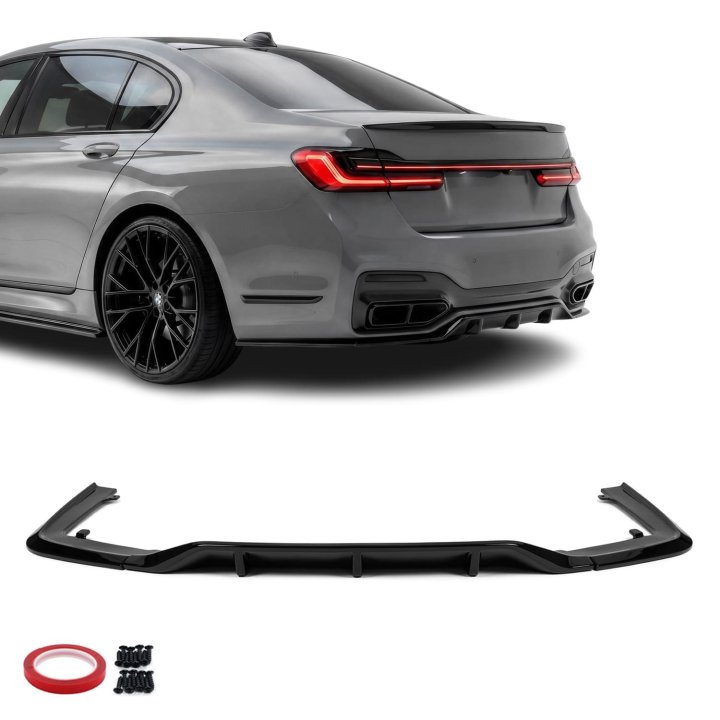
INSTALLATION & FITMENT
How to replace a BMW rear diffuser
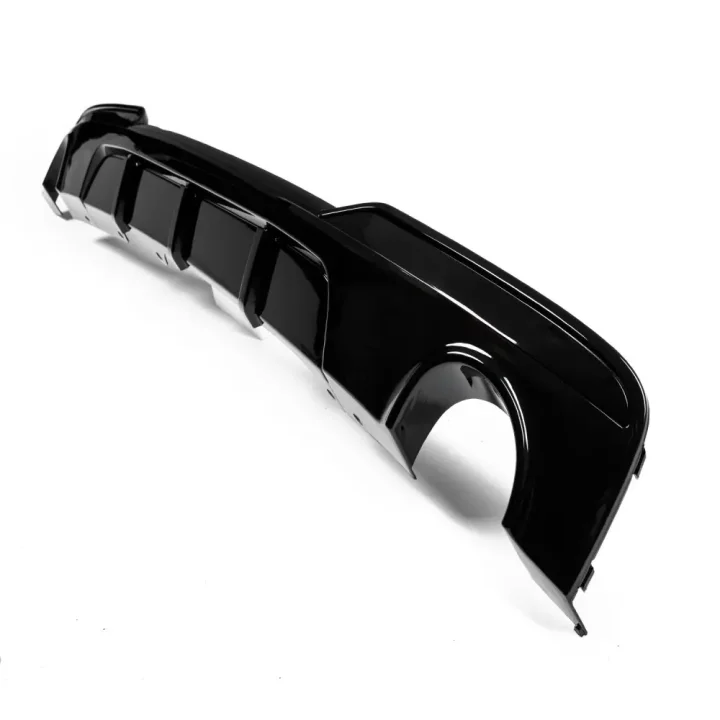
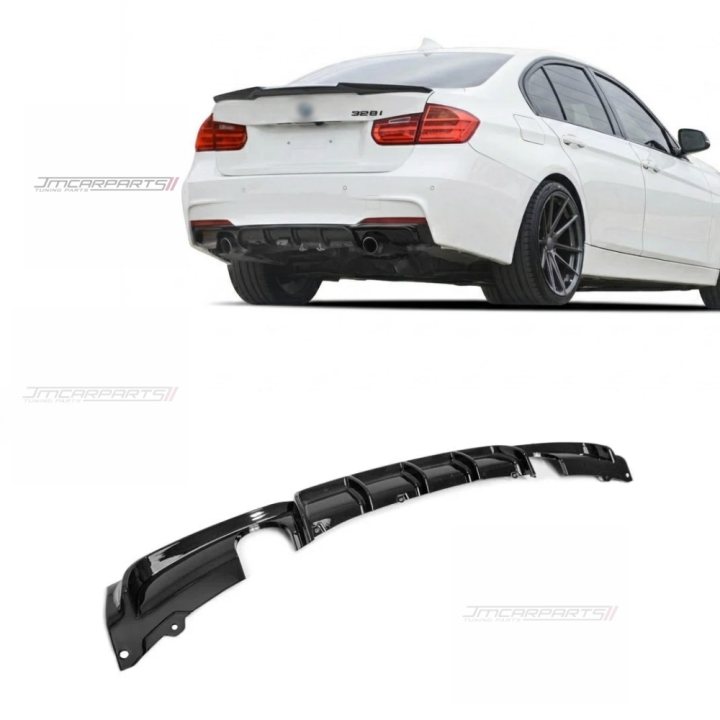
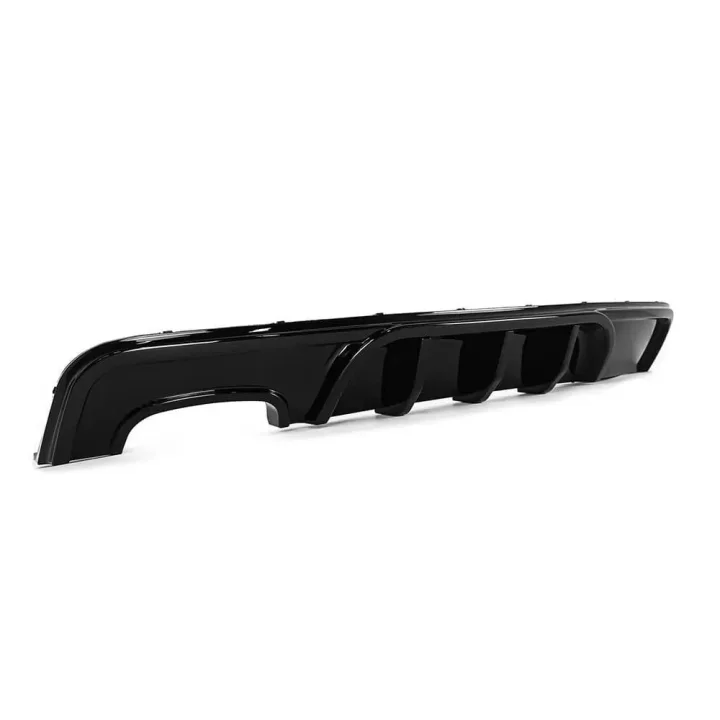
Step-by-step removal and installation guidance for a clip-in BMW rear bumper diffuser.
Required tools
- 8 mm socket or the appropriate Phillips/Torx driver
- Plastic trim tool
- Microfiber cloth
- Isopropyl alcohol or automotive degreaser
- Jack and suitable axle stands or vehicle lift
Step-by-step instructions
1. Remove the lower fasteners
Park on a level surface, apply the parking brake and let the exhaust cool. The rear may be raised for easier access, but it is often possible to reach the fasteners from below. If the car is raised, support it securely on suitable stands.
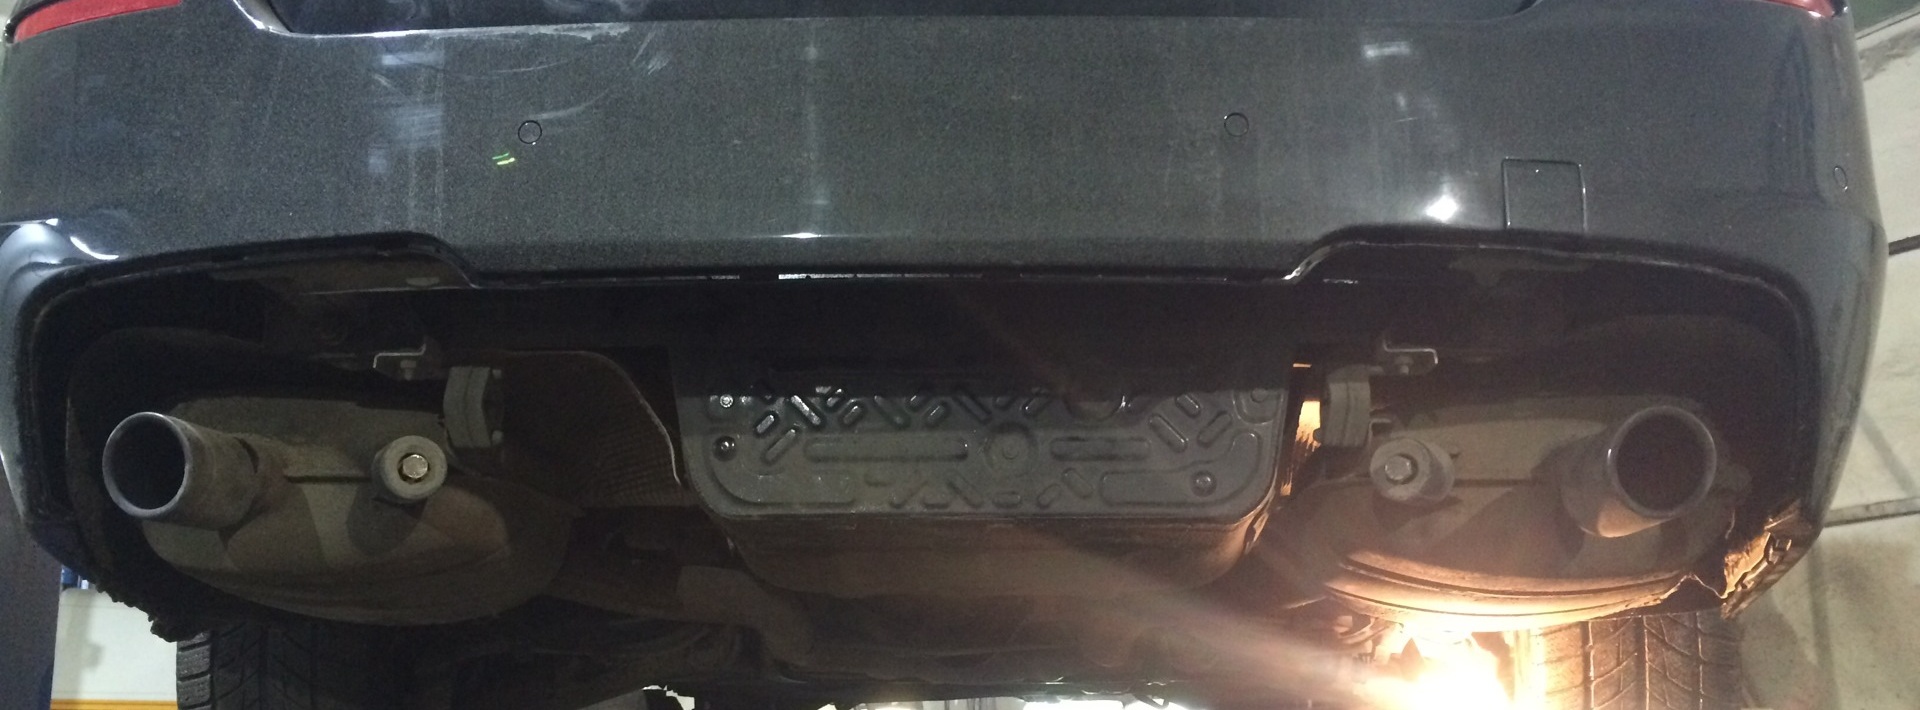
Using an 8 mm socket or the appropriate Phillips or Torx driver, remove all fasteners holding the lower edge of the diffuser—usually four to six across its width. Remove the fasteners at both outer edges near the wheel arches or exhaust tips as well.
2. Unclip the old diffuser
Start at one outer edge beside an exhaust tip. Insert a plastic trim tool into the joint between the diffuser and bumper, then gently lever the diffuser outward. Release the retaining tabs from the bumper slots one at a time and work gradually toward the opposite side until the diffuser is free.
3. Clean and inspect the mounting area
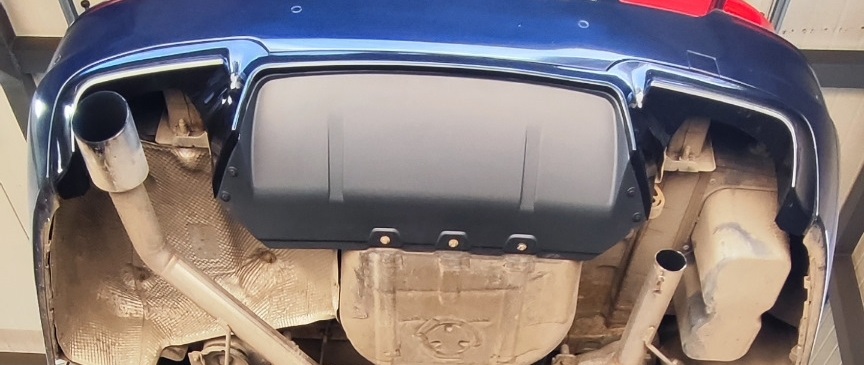
Use degreaser and a microfiber cloth to remove accumulated dirt, dust and sand from the bumper slots. Compare the old and new diffusers, checking the position and condition of every tab before installation.
4. Install the new diffuser
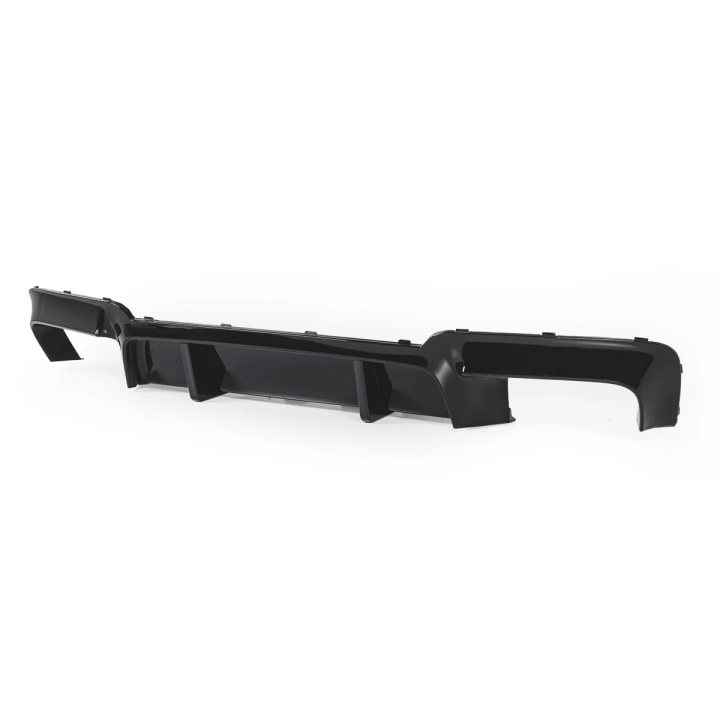
- Align the centre tabs of the new diffuser with the corresponding bumper slots.
- Press the diffuser into place from the centre toward the edges until the clips engage with a clear click.
- Check that the diffuser sits flush against the bumper along its full width and that there are no uneven gaps.
- Reinstall and tighten all lower and outer fasteners.
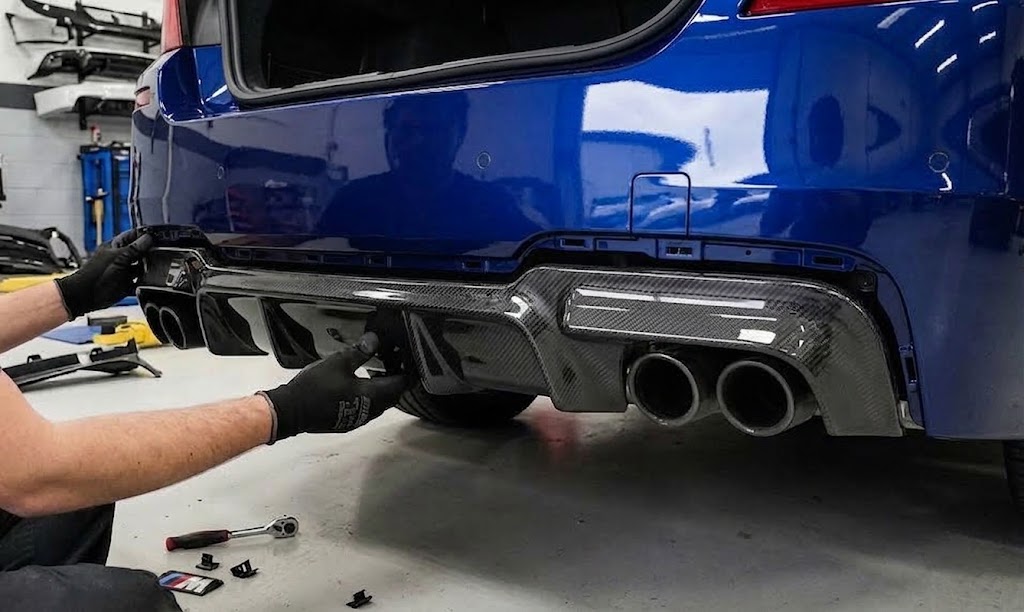
Choose the correct exhaust opening
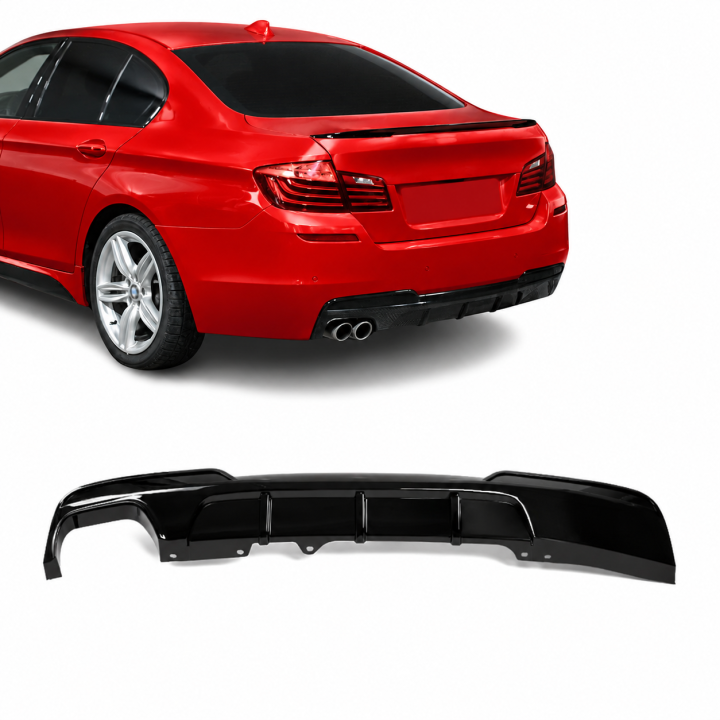
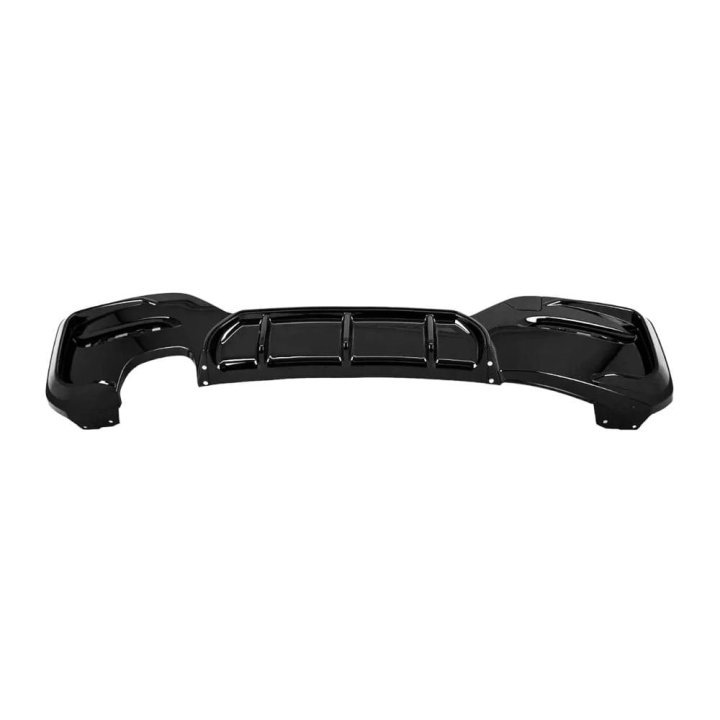
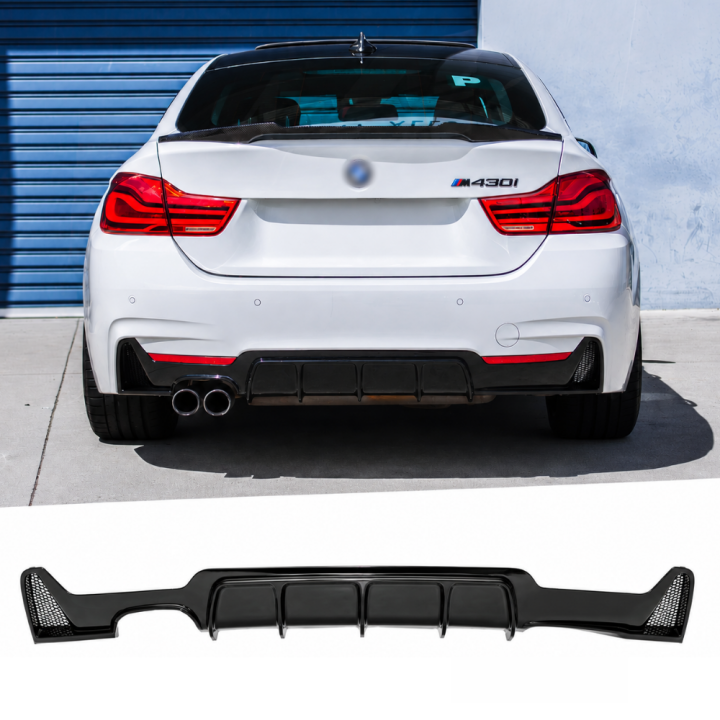
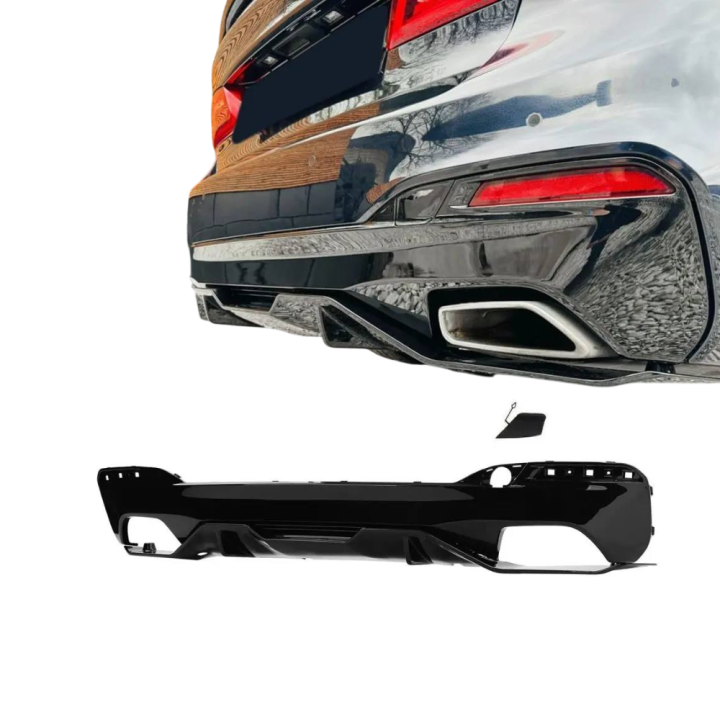
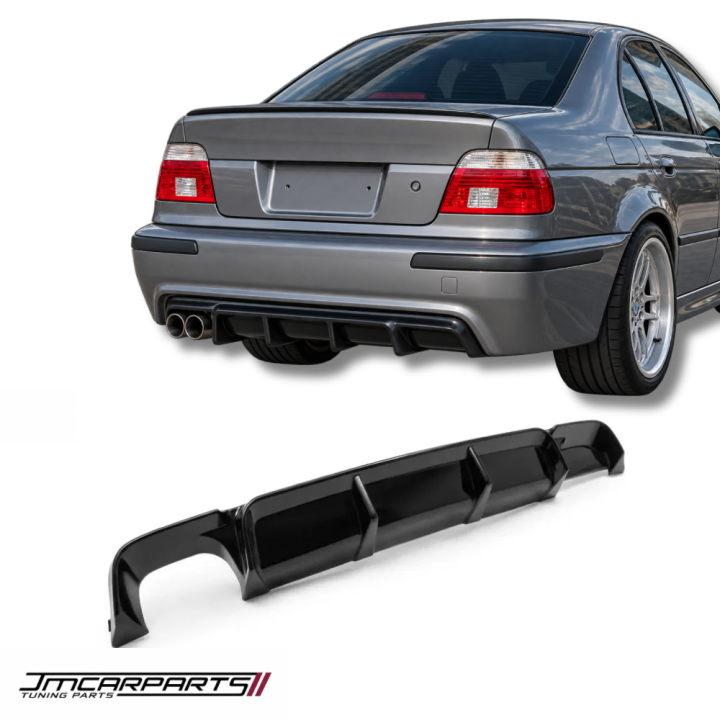
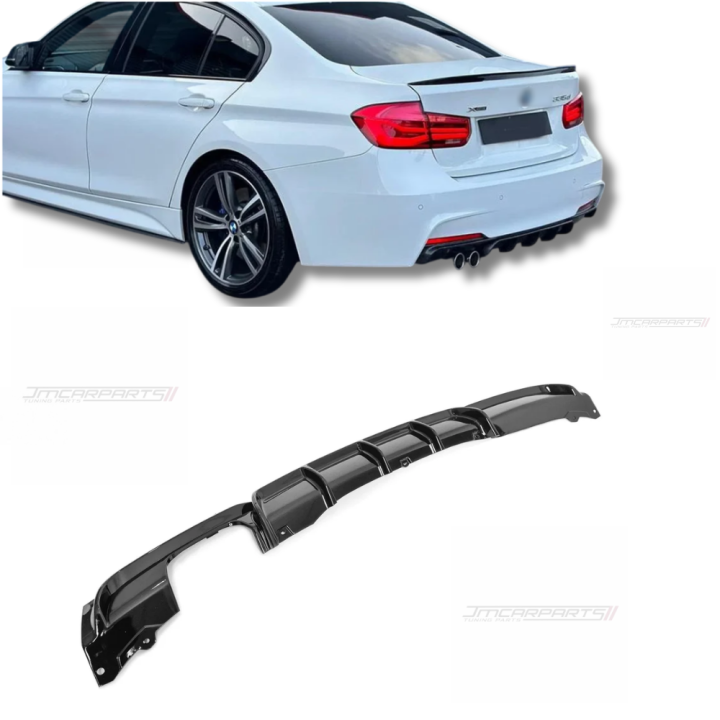
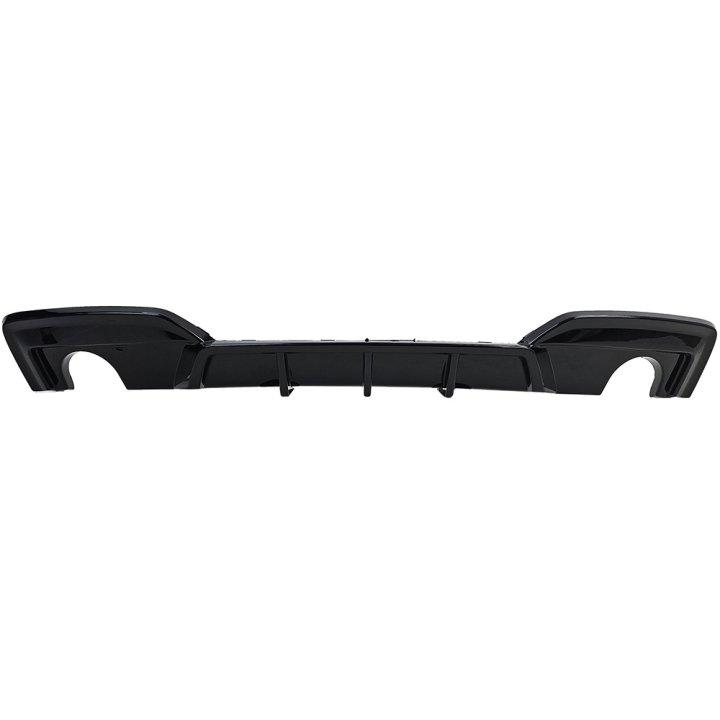
The replacement must match the car's exhaust configuration. Common BMW 5 Series layouts include:
- 520i, 520d, 525d and 528i: two tips on the left.
- 530d, 535i and 535d: one tip on each side.
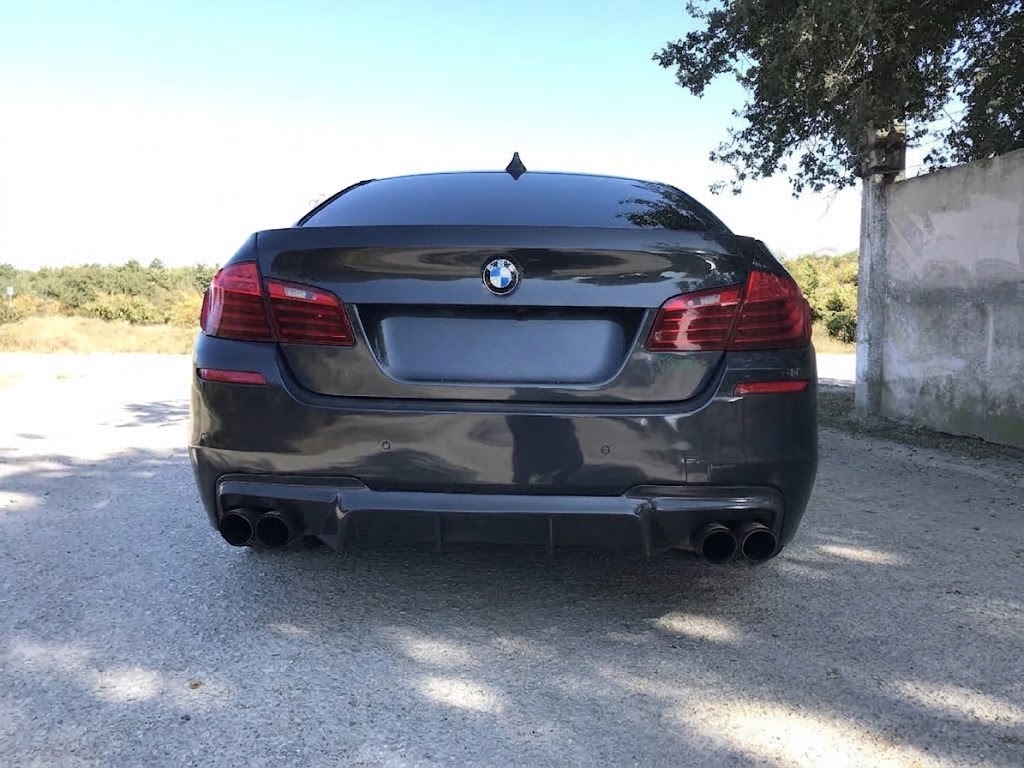
- M5-style or custom M Performance systems: two tips on each side.
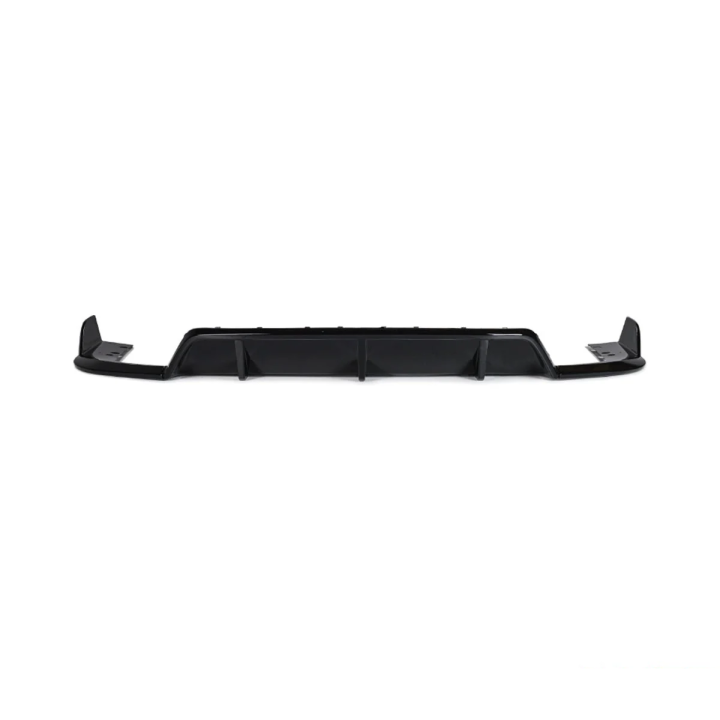
All photographs are illustrative. Clip positions, fasteners and exhaust layouts vary by model and bumper.