INSTALLATION & FITMENT
How to install a front lip or splitter on a BMW
A practical guide to aligning, bonding and mechanically securing a BMW front lip or splitter.
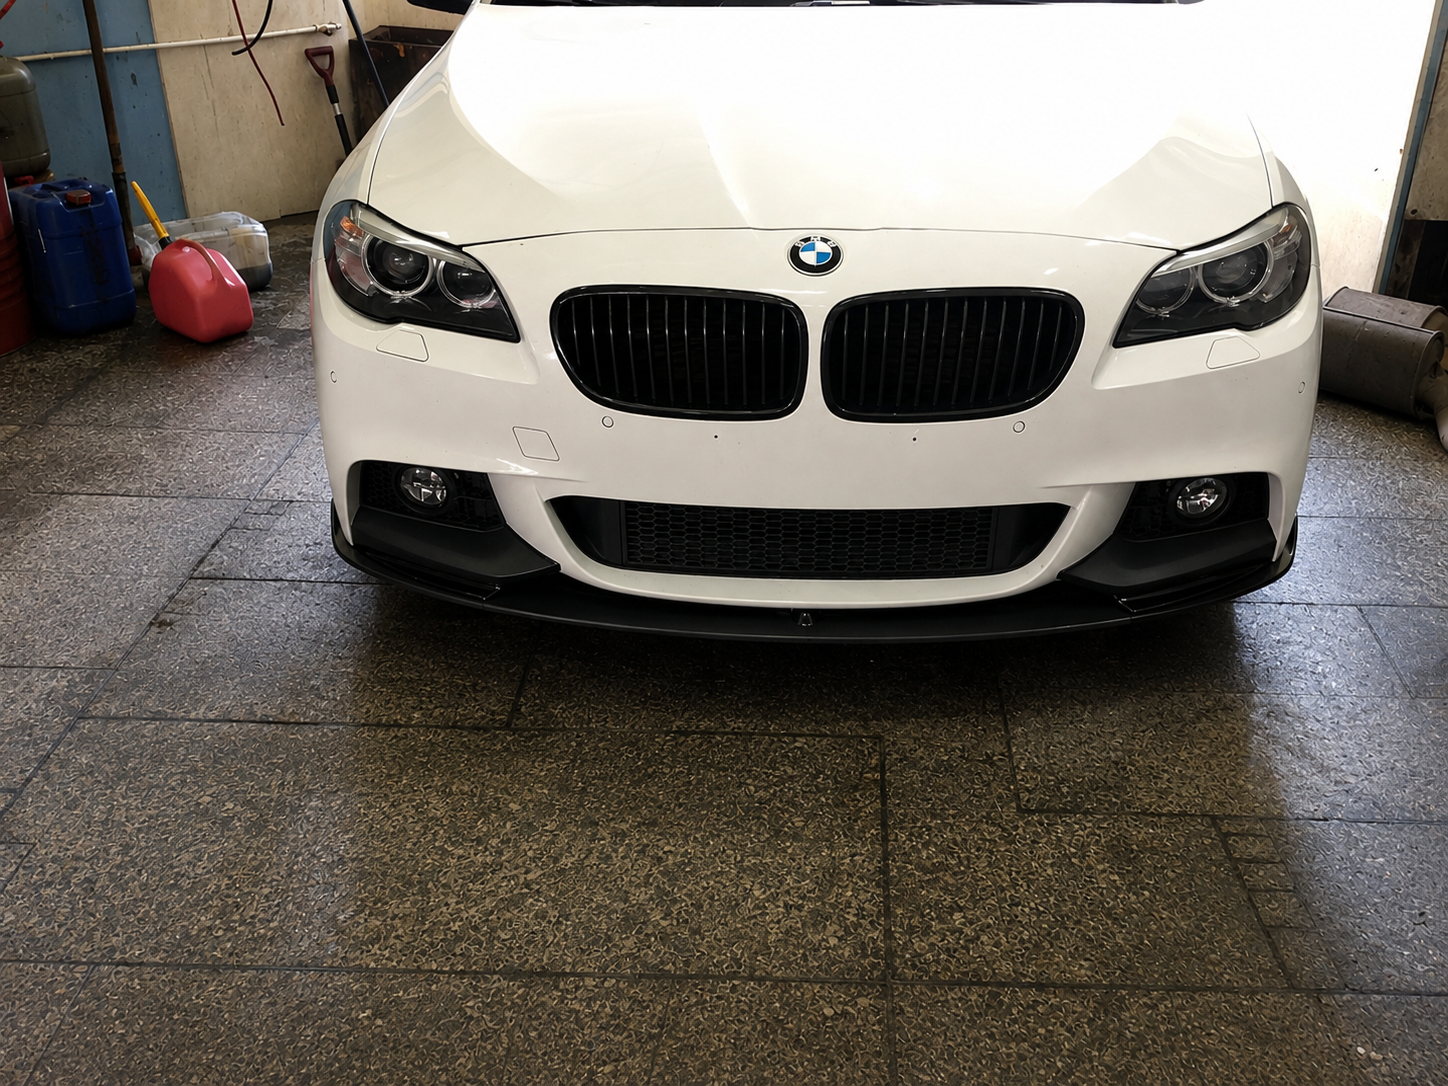
Required tools
- Front lip or splitter
- Automotive double-sided tape
- Adhesion promoter (if required by the tape manufacturer)
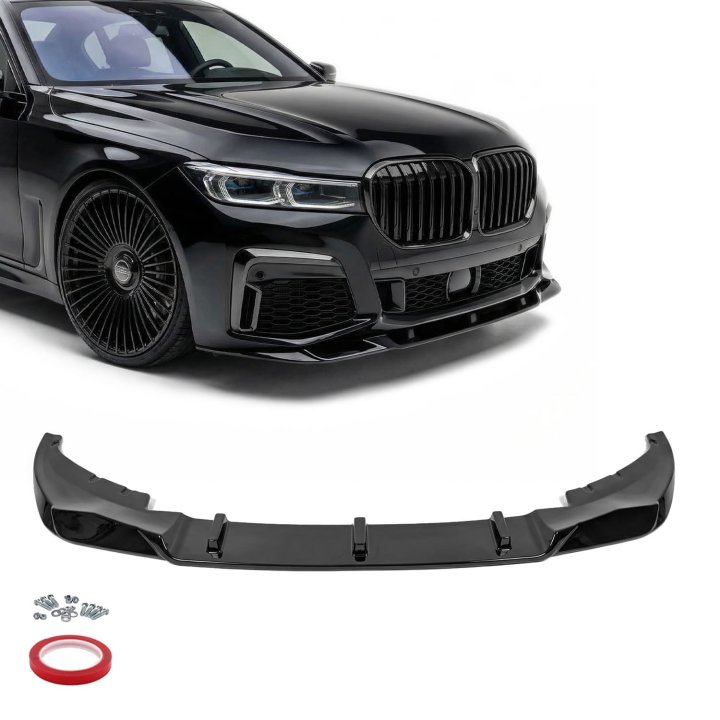
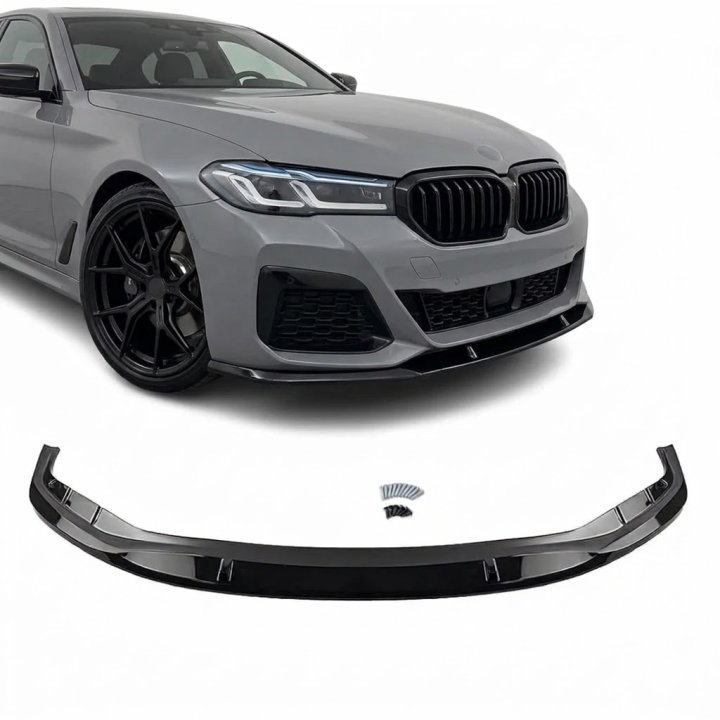
- M6 bolts and nuts, threaded rivets or standard rivets
- Isopropyl alcohol or automotive degreaser
- Box-end wrench and ratchet with socket
- Masking tape
- Heat gun or hair dryer
- Jack and suitable axle stands or vehicle lift
Step-by-step instructions
1. Prepare the car
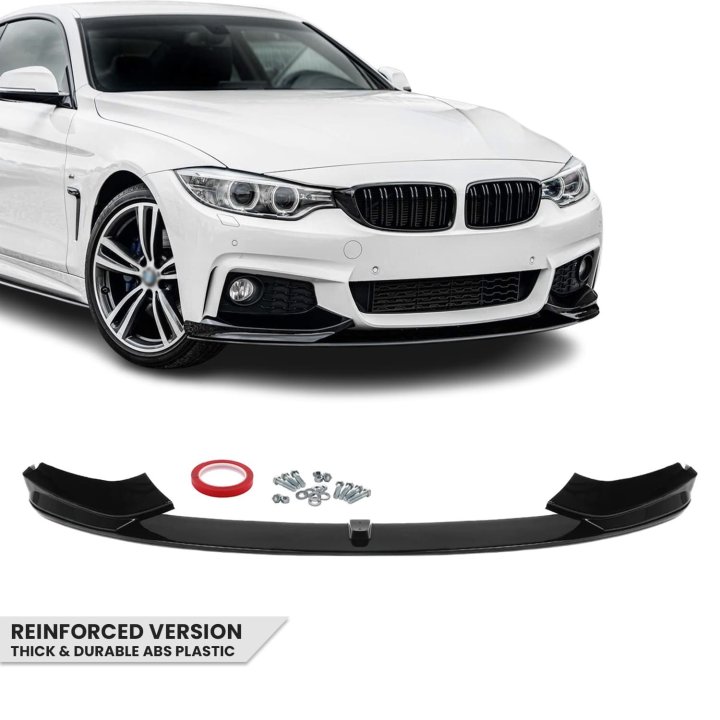
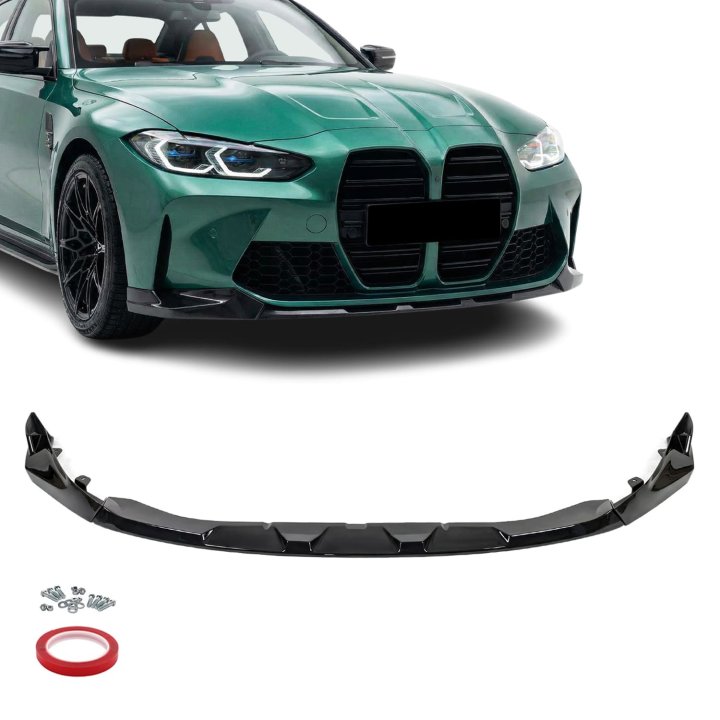
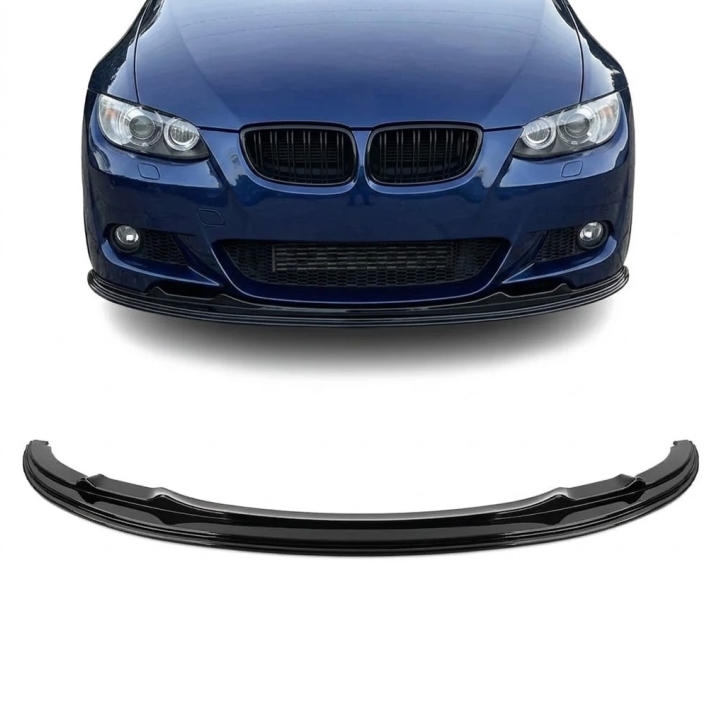
- Check that the front lip or splitter matches your bumper type (standard or M Sport).
- Park on a level surface, apply the parking brake and thoroughly wash the lower section of the front bumper.
- Raise the front of the car and support it securely on suitable stands. Never work beneath a car supported only by a jack.
- Dry and degrease the area where the lip will meet the bumper.
- If bolts and nuts will be used, remove the engine splash shield to gain access to the inside of the bumper.
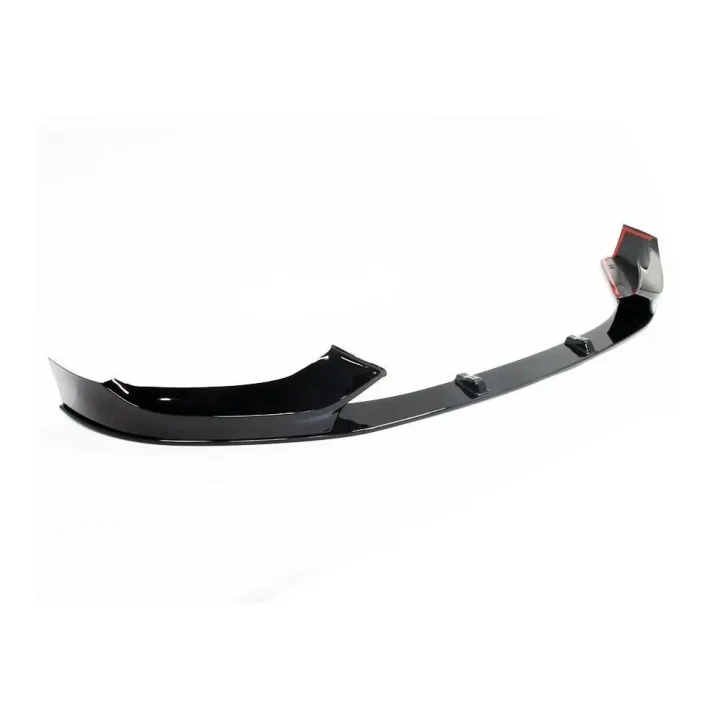
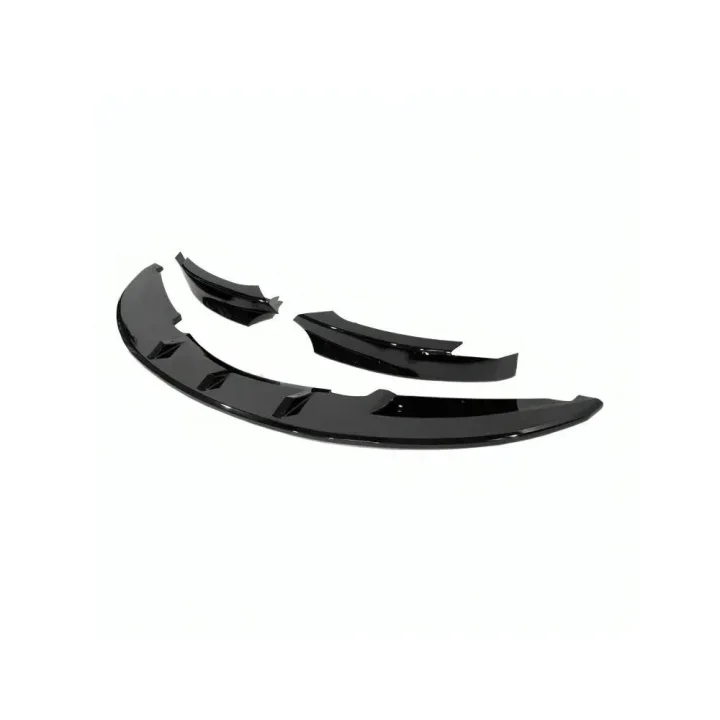
- If the lip has separate side pieces, fasten them to the main lip before the test fit.
2. Test-fit and mark the position
Hold the lip against the bumper without adhesive tape. Centre it relative to the kidney grilles and bumper edges, then hold it at the sides and centre with masking tape. Check that the gaps are minimal and mark the final position along both ends.
3. Prepare the tape and primer
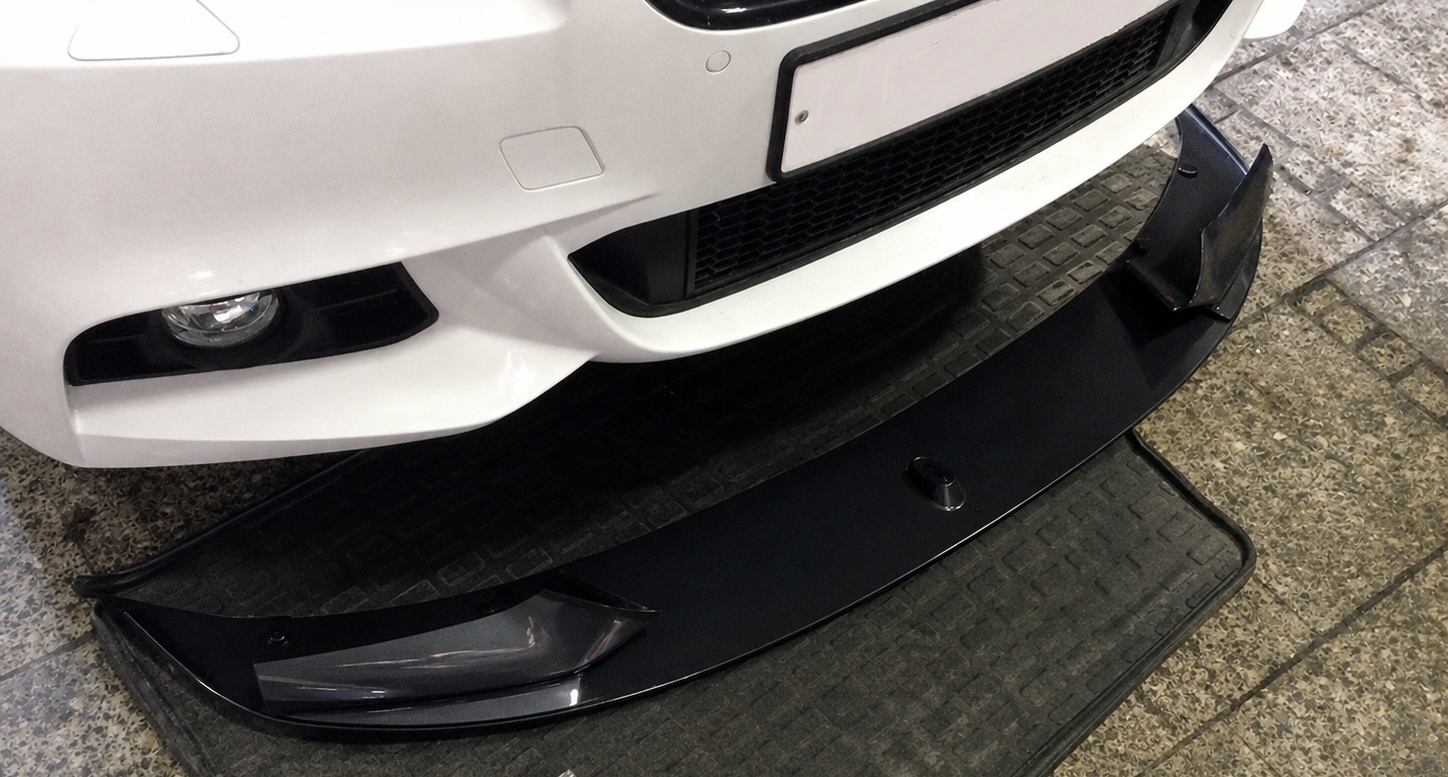
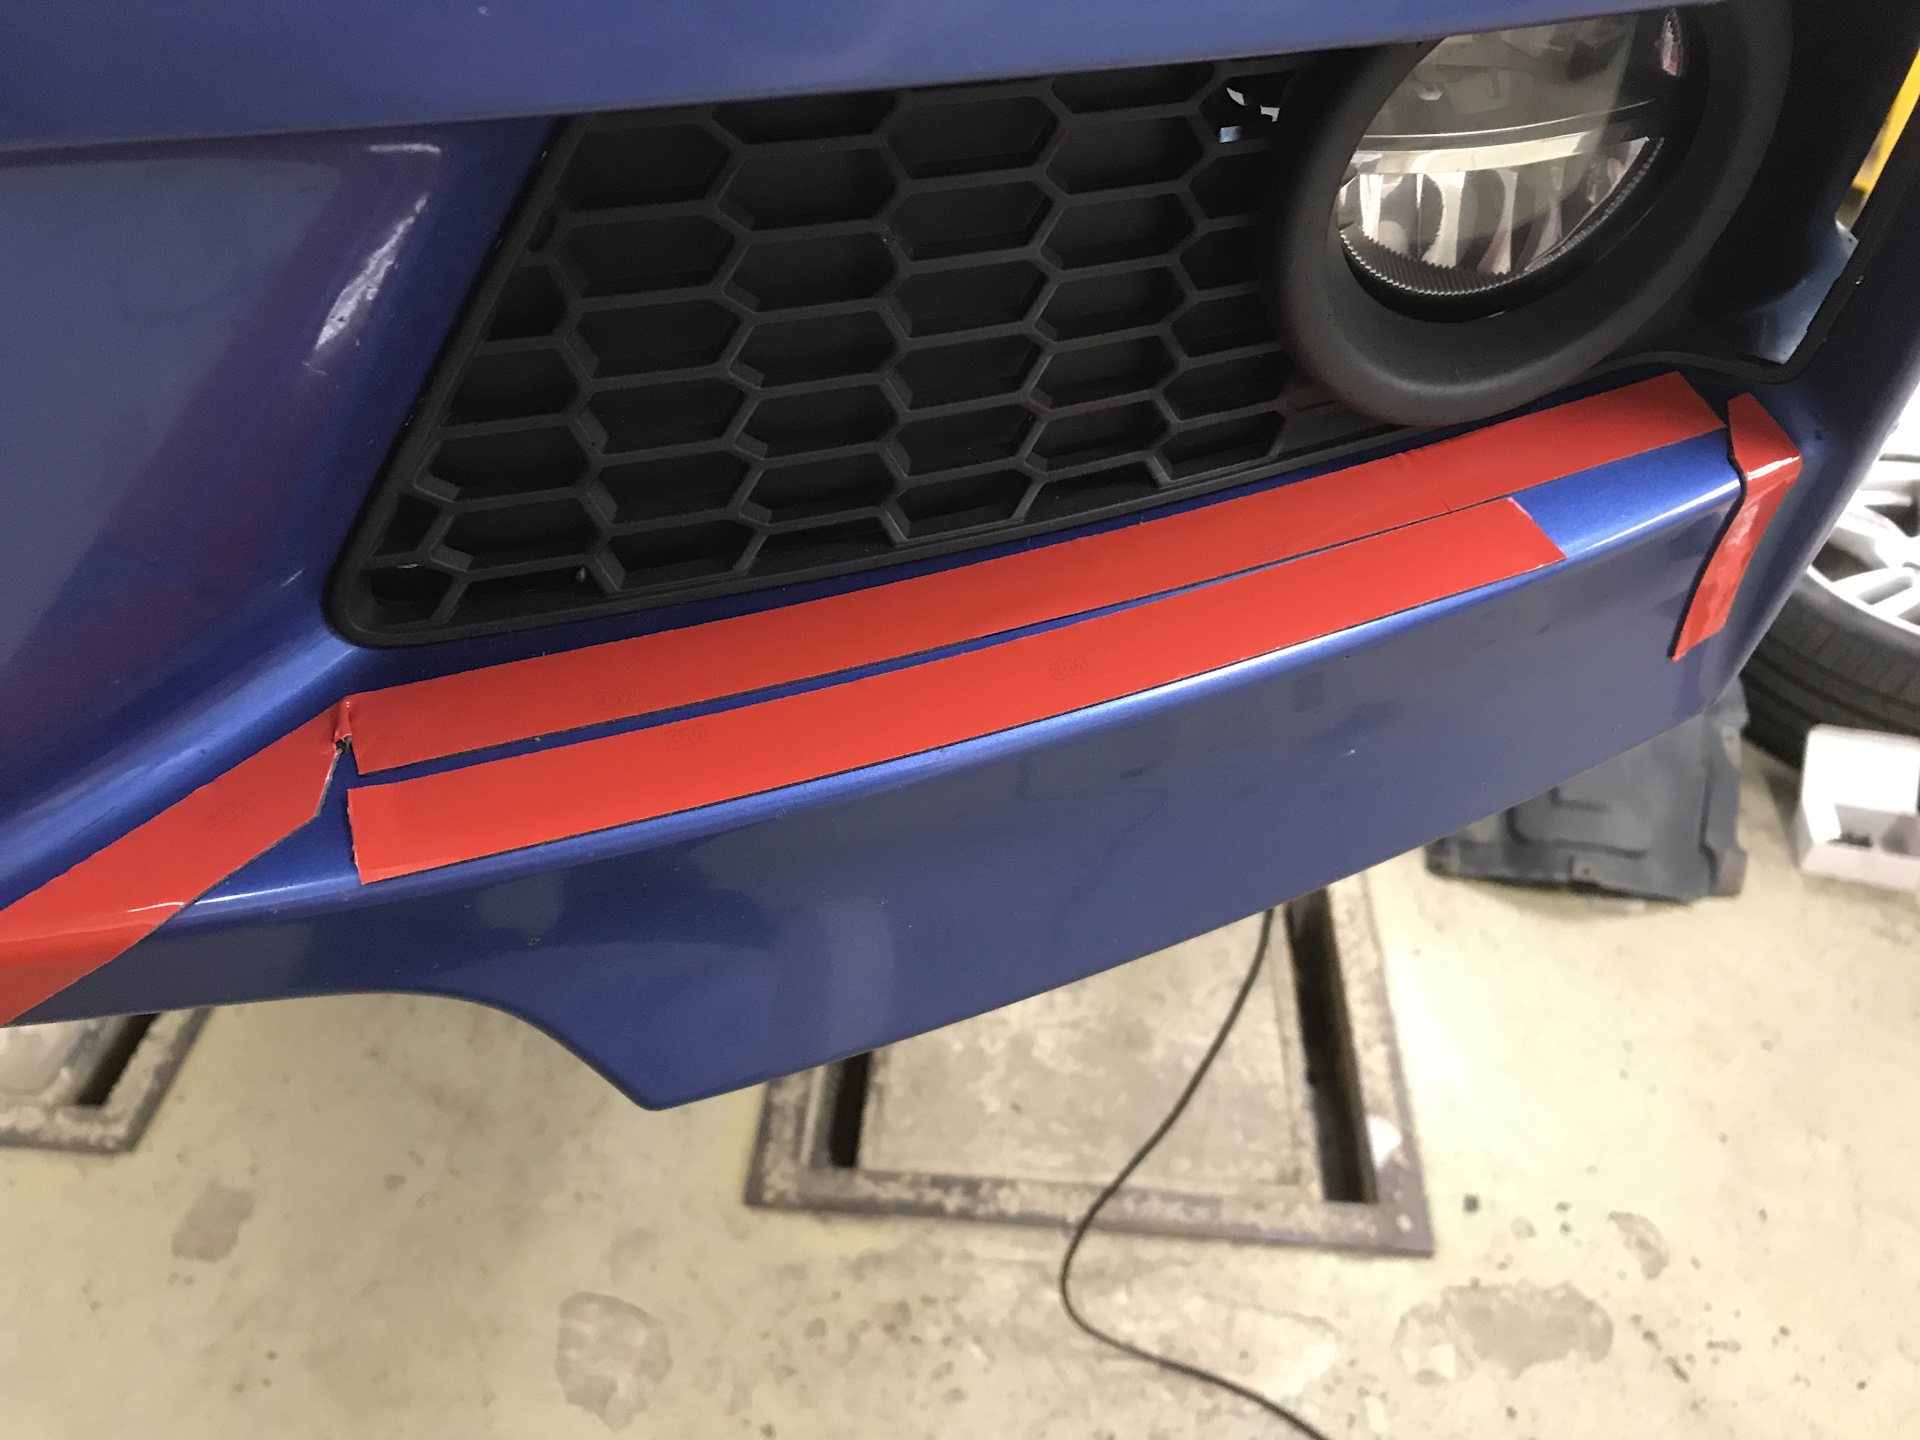
Remove the lip and degrease its inner mating edge. Apply adhesion promoter to the bonding areas on the bumper and lip, following the product instructions. Run automotive-grade double-sided tape along the full upper mating edge. Fold 3–5 cm of backing outward at each end so it can be pulled away after the lip is positioned.
4. Bond the splitter
Return the lip to the marked position. Pull the backing out gradually using the exposed ends while pressing the lip firmly against the bumper along its full length. Warm the joint moderately with a heat gun or hair dryer to activate the adhesive; do not overheat the paint or plastic.
5. Add mechanical fasteners
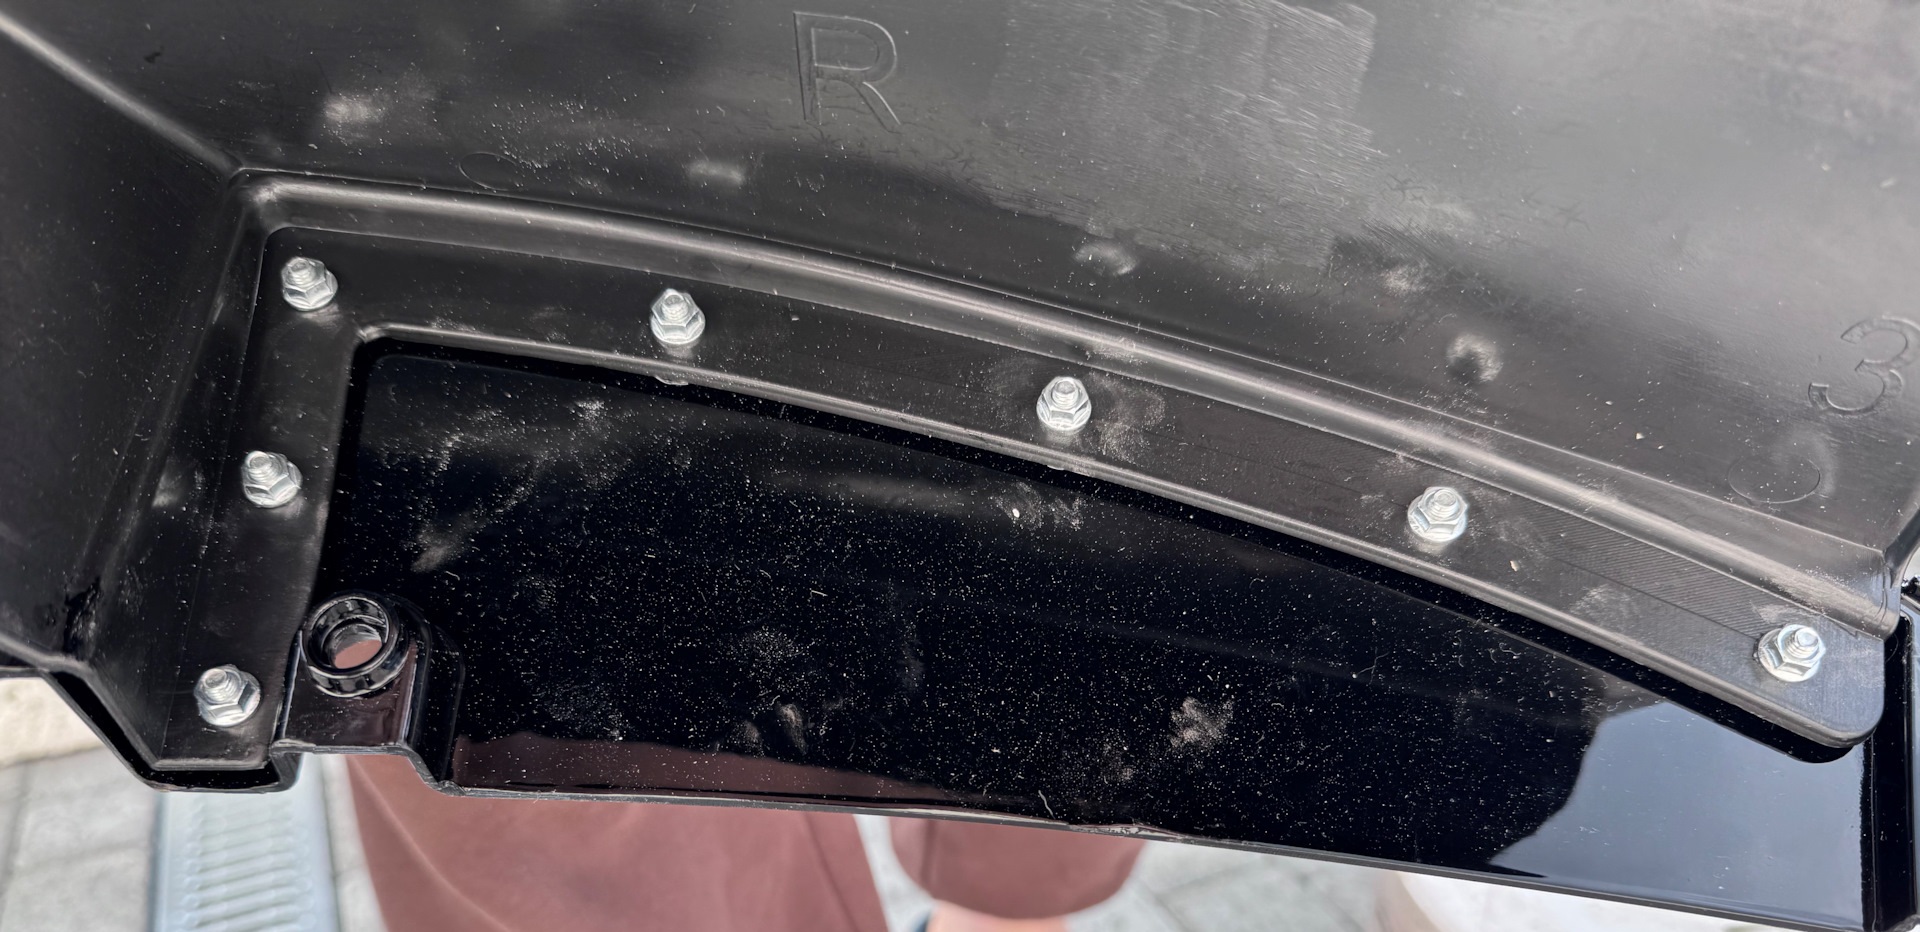
- Mark and drill the required holes through the lower bumper only after the lip is correctly aligned.
- Secure the lip with M6 bolts and nuts, threaded rivets or standard rivets.
- Pay particular attention to the outer mounting points near both wheel arches.
- Refit the splash shield and check that every fastener is secure.
Final check
Confirm that the lip is centred, sits flush and cannot move at any mounting point. Do not rely on self-tapping screws alone: at speed, aerodynamic load can pull the lip and screws from the bumper, creating a hazard to the tyres and other road users.
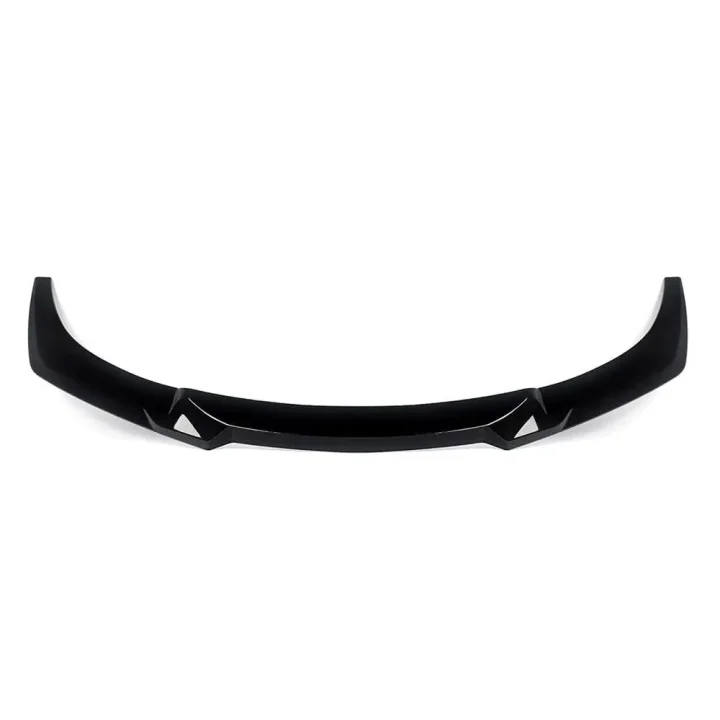
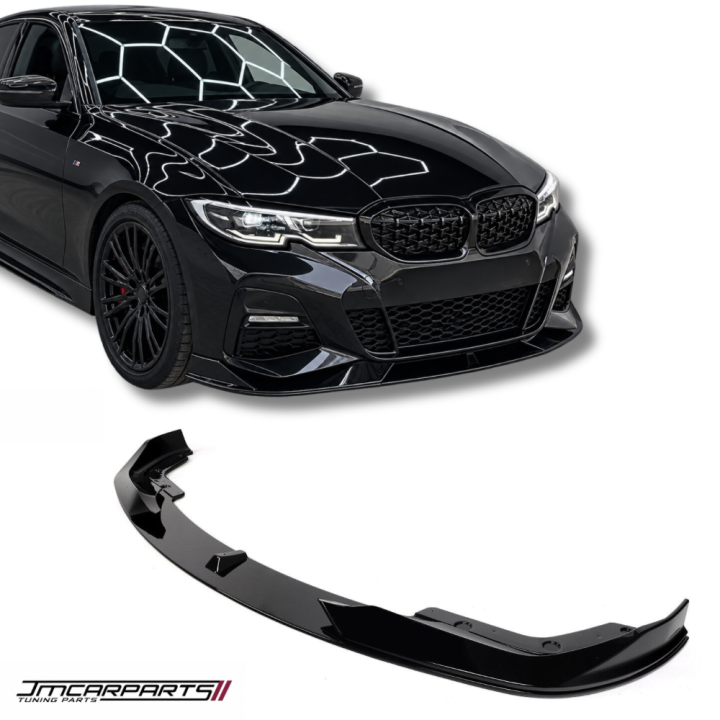
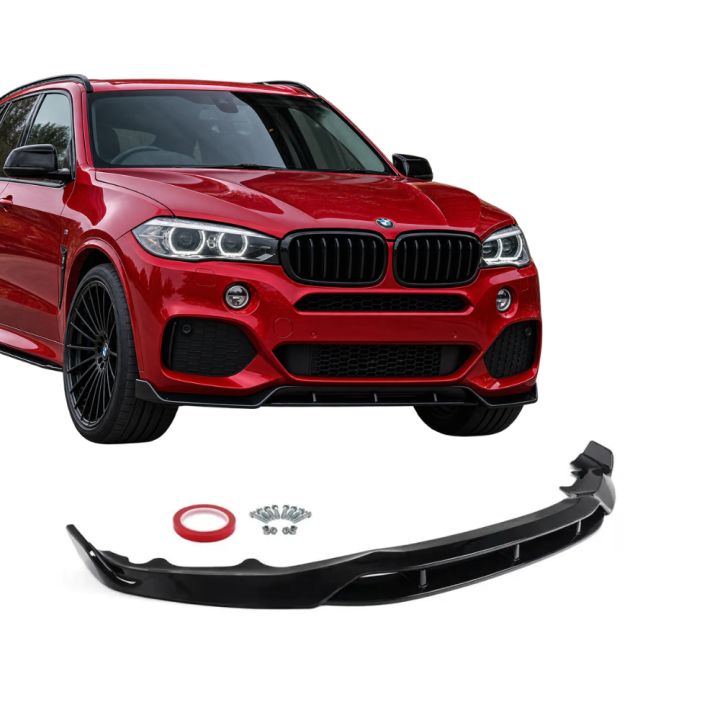
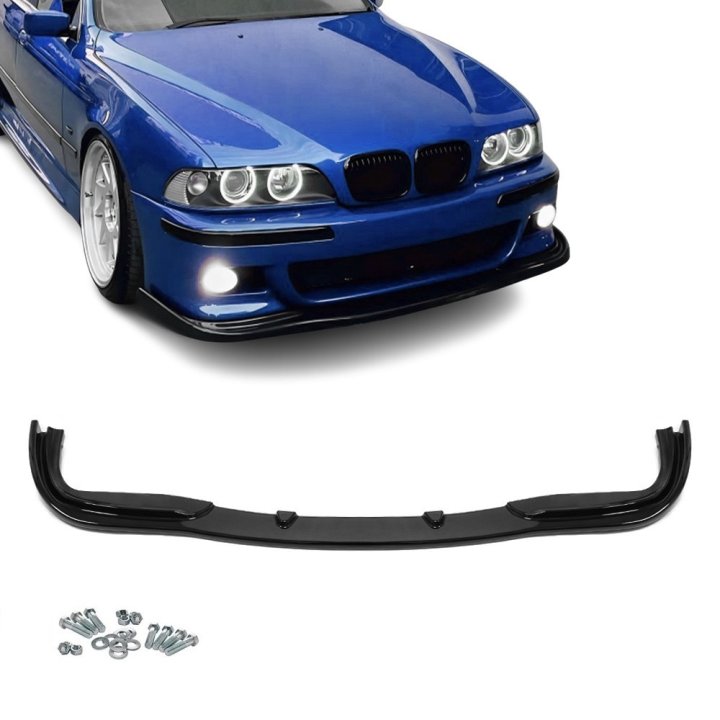
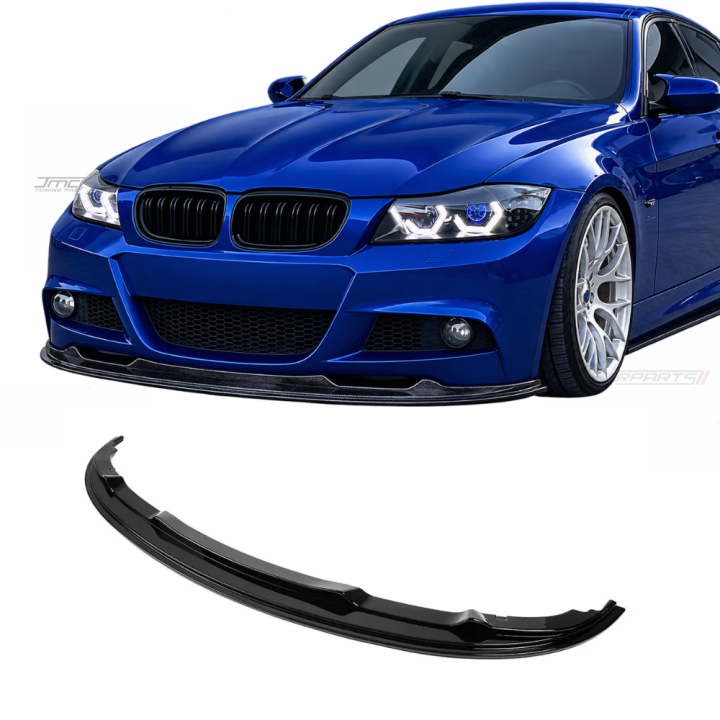
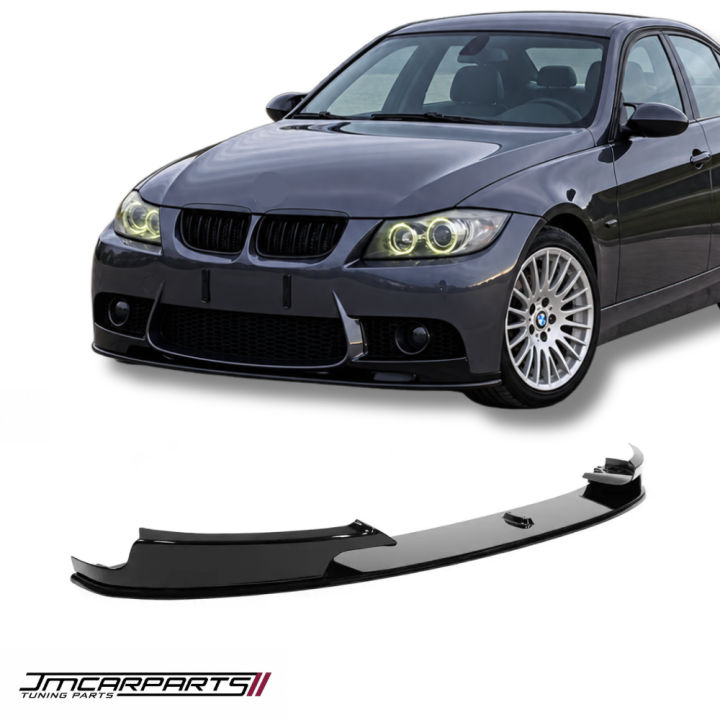
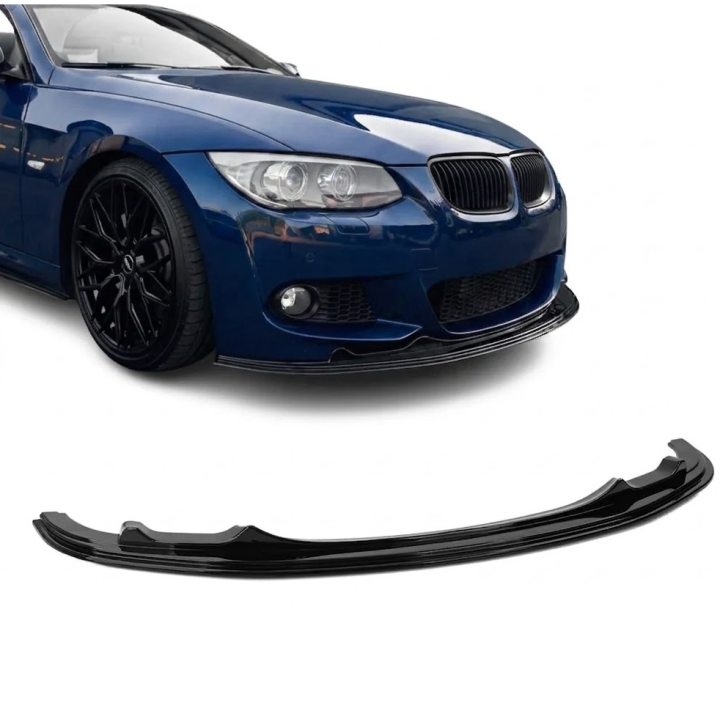
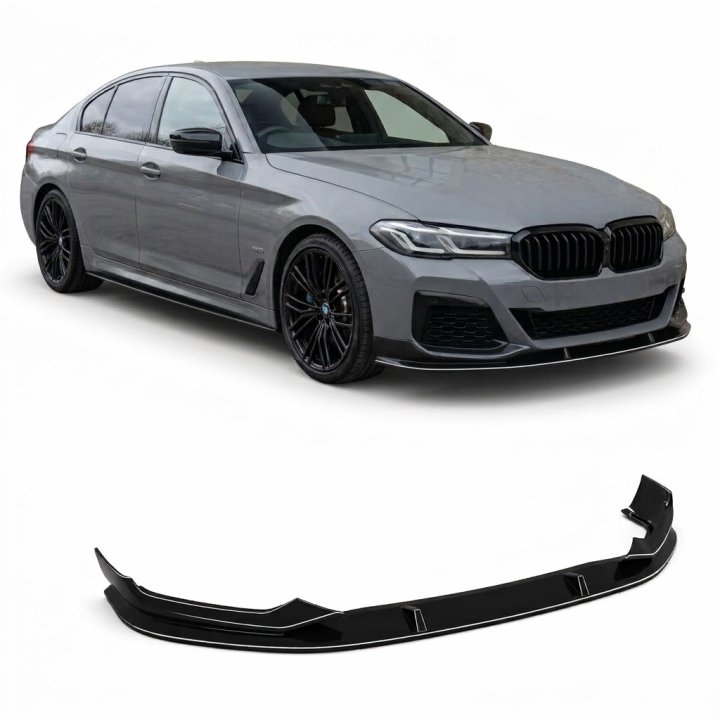
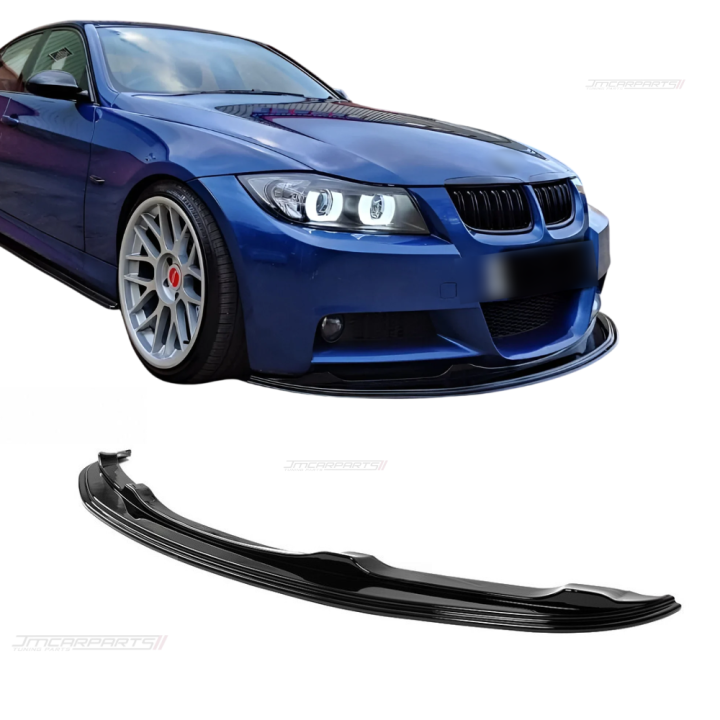
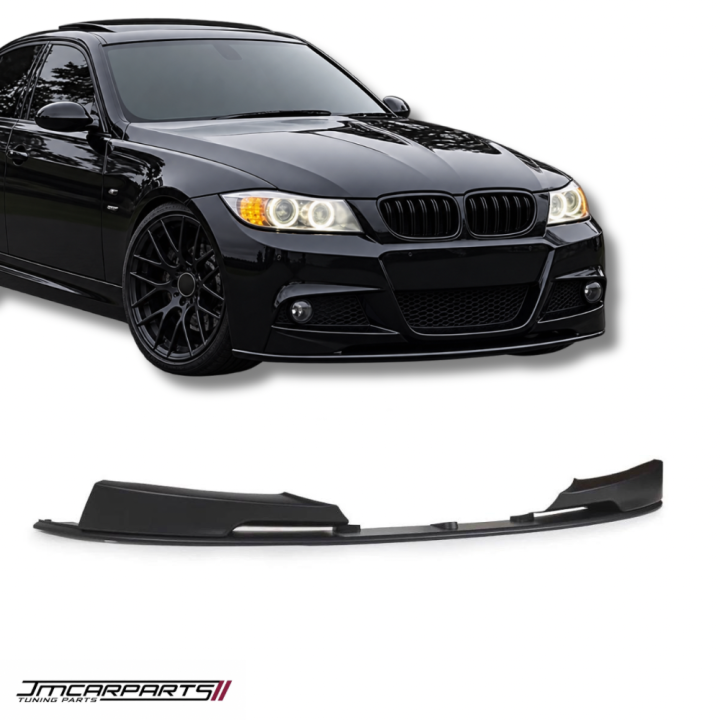
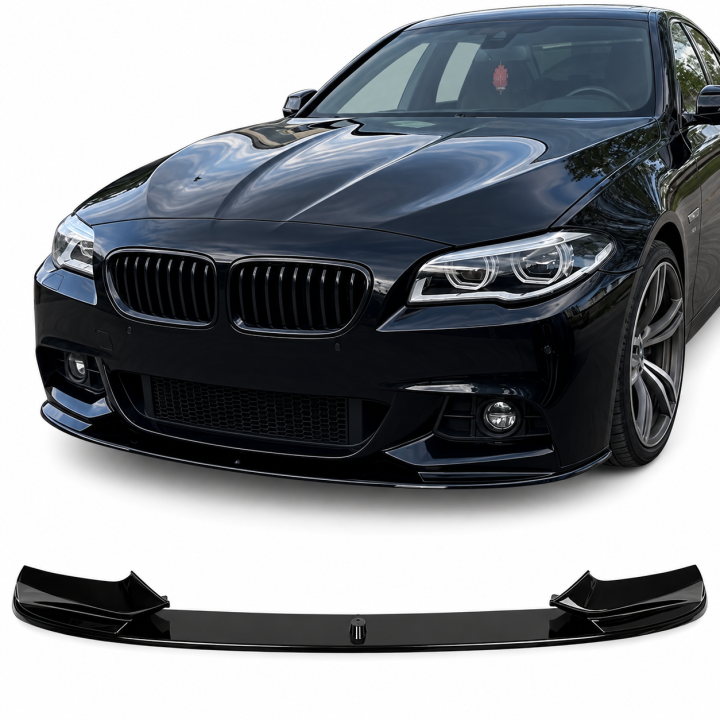
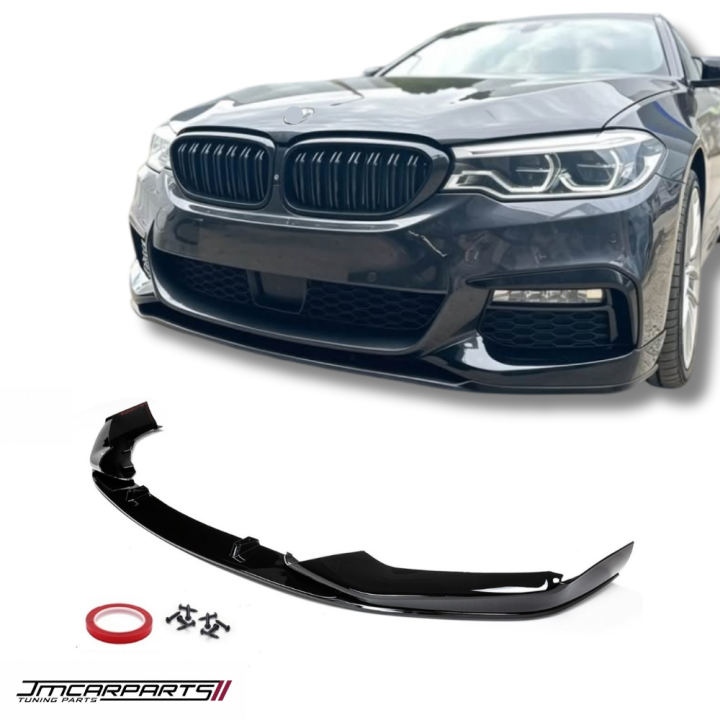
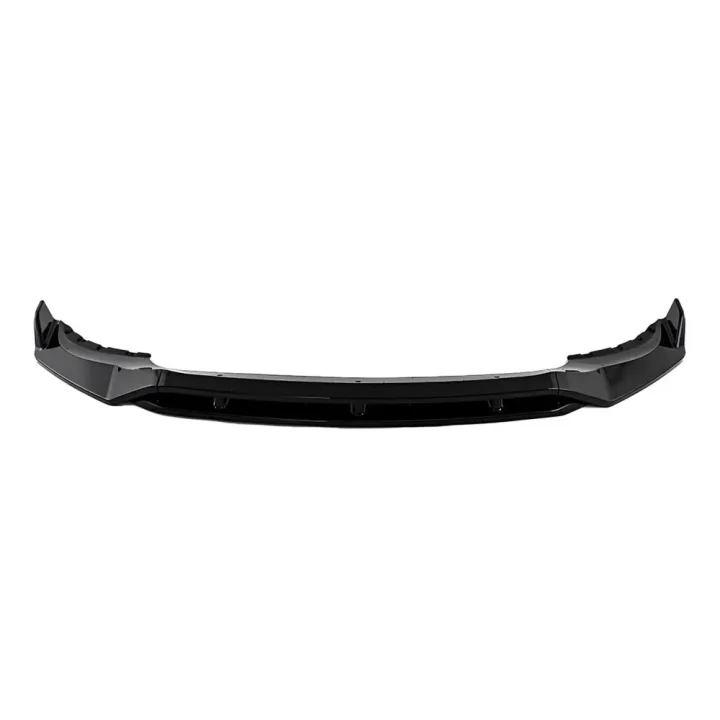
All photographs are illustrative. Exact mounting points and hardware vary by bumper and splitter design.
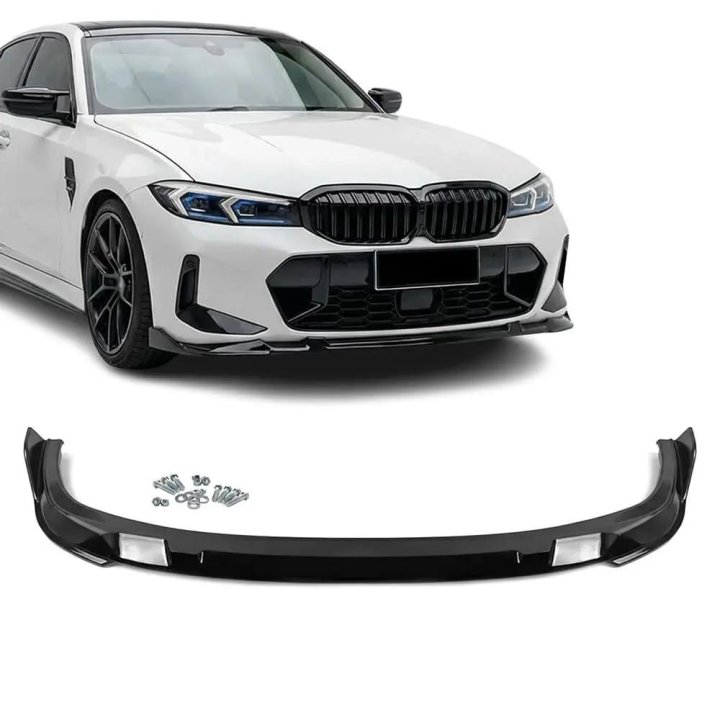
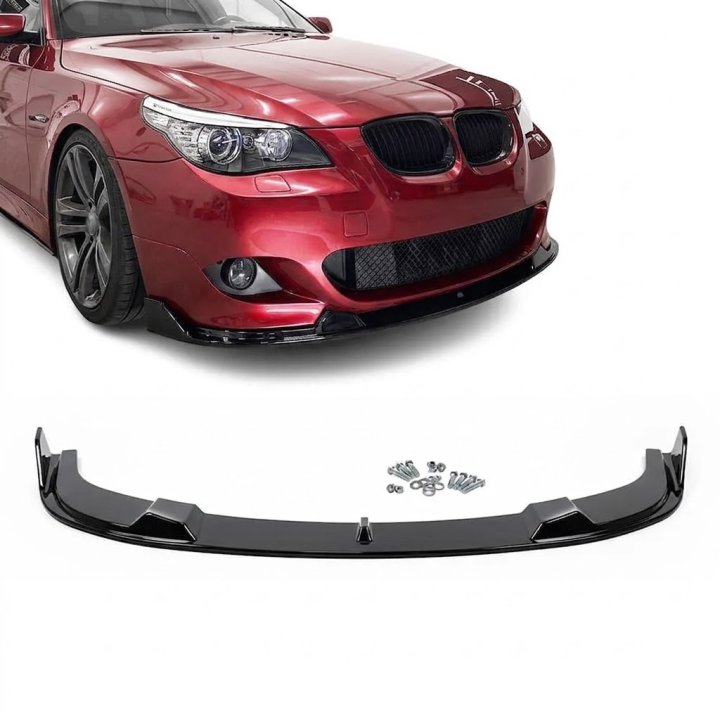
![Performance Front bumper Lip for BMW F30 / F31, glossy black [EXTRA-STRONG VERSION]](https://jmcarparts.lv/media/cache/product_card/uploads/products/dc/dce0183af10a3411c3c6c8baafdd5031fb9a5591471f6d929ed16c8caee74784.jpg)